So you’ve diagnosed tamponade. What’s next?
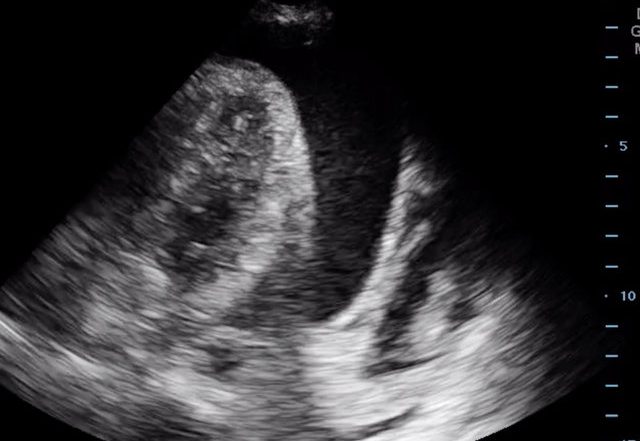
Briefly recalling our patient from last month, a 52-year-old female status post aortic valve replacement that presented with progressive shortness of breath. On bedside ultrasound she was found to have a pericardial effusion with right ventricular diastolic collapse, and a clinical picture consistent with pericardial tamponade. She initially stabilized with IV fluids.
As you are preparing to send her to the cath lab, she becomes tachycardic, hypotensive and altered. She is no longer responsive to fluids. You decide an emergent pericardiocentesis is needed.
You move the patient into a resuscitation room and gather your supplies. Using the phased array ultrasound probe, you select the best site for your procedure by looking for the largest pocket of fluid that is closest to the skin surface.

Locations for possible ultrasound guided pericardiocentesis. Assess for the largest and closest pocket of fluid in the parasternal, subxiphoid and apical views.
From there you administer a sedation dose of ketamine and proceed. After skin prep and sterile precautions including a sterile ultrasound probe cover and gel, you introduce an 18 gauge spinal needle adjacent to the sternum under direct visualization using your linear probe in a parasternal long axis orientation. The subxiphoid approach or even apical approaches can be acceptable, depending on patient habitus and fluid findings on ultrasound.

Parasternal long axis view of a pericardial effusion using the linear probe. Yellow arrow illustrates path of needle using an in-plane approach.
You visualize your needle tip entering the pericardial space, and further confirm your location by injecting 5ml of agitated saline from a syringe you just shook vigorously, seeing the improvised bubble contrast in the pericardial space.
- Bubble study prior to agitated saline administration in the apical view. Image courtesy of Mark Favot MD.
- Bubble study after agitated saline administration. Images courtesy of Mark Favot MD.
After aspirating 40ml of fluid you note immediate improvement in RV filling on ultrasound, and in your patient’s hemodynamics. Having stabilized the patient, you then use Seldinger technique to place a drainage catheter to allow for continuous drainage as needed, before safely admitting your patient.
Pearls and pitfalls
- Once you have identified that a patient is in cardiac tamponade, a pericardiocentesis is indicated when the patient has hemodynamic instability that is no longer responsive to fluids. Taking off as little as 40ml can lead to stabilization of vital signs.
- Ultrasound can be useful in procedural guidance of bedside pericardiocentesis, increasing confidence in a high-stakes, low-frequency procedure, as well as reducing complication rates. It is useful for identifying the largest pocket of fluid closest to the skin surface, tracking needle location, and verifying a successful drainage.
- By enabling assessment of important anatomic structures during the procedure, ultrasound guidance may lead to reduced complications such as arterial injury, cardiac laceration, pneumothorax and liver injury.
- When using ultrasound you want to first evaluate for the largest pocket of fluid closest to the skin surface. This can be done in the parasternal, subxiphoid and apical windows, using the phased array probe. See Figure 1.
- When selecting the parasternal location, the linear probe may be used for better visualization of the pericardial space, and for tracking the needle tip. See figure 2. Be sure to avoid the internal mammary vessels and the left anterior descending coronary artery by inserting your needle >2 cm off the left lateral sternal border.
- During the procedure it is imperative to follow your needle tip in to the pericardial space. You can create an improvised bubble contrast of agitated saline most simply by vigorously shaking a sterile saline syringe. By injecting 5ml of this agitated saline and looking for bubbles in the pericardial space, you can further verify that your needle tip is in the proper location. See Figure 3 and 4.
Supplemental Videos
Video 1: Bubble study prior to agitated saline administration in the apical view. Image courtesy of Mark Favot MD.
Video 2: Bubble study after agitated saline administration. Images courtesy of Mark Favot MD.


