It’s just been one of those nights. It just took you three attempts to get the CSF on a patient that should have been the easiest LP in the world. Your guidewire headed north instead of south during a subclavian vein cannulation for central venous access. And now your charge nurse is telling you that your 85-year-old patient in the resuscitation bay is becoming more short of breath and his O2 sats are dropping.
The patient’s RN actually just finished using the ultrasound to place an otherwise tough peripheral IV, so the machine is primed and ready to roll. Although you know you could probably aspirate fluid using the mid-axilary approach, you opt to have the patient repositioned so that his rotund abdomen and thick subcutaneous tissue doesn’t get in the way of your thoracentesis.
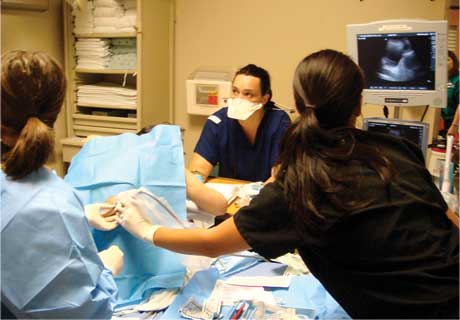
With him sitting upright, leaning over a pillow on top of a bedside stand, you obtain the following image in the sagittal plane (Image 1). What does it show?


After removing a liter of pleural fluid, your procedural confidence and competence improve, followed by your patient’s O2 sats and comfort level. Maybe it’s not such a bad night after all.
Remember that fluid moves with patient repositioning, and, unless loculated, will usually flow to the most dependent area of the body cavity in question.
>>Often times, the linear array transducer can be used to visualize superficial collections of pleural fluid. If the patient has increased muscle mass or thick subcutaneous tissue, use the curvilinear probe for better visualization of deeper structures.
>>Clearly identify the lung parenchyma, the pleural fluid, the diaphragm, and adjacent organs such as the liver or spleen. Remember that the lungs and adjacent organs will have a mixed echogenic appearance on ultrasound, whereas the pleural fluid will appear anechoic (black), and the diaphragm will appear hyperechoic (white).
>>Map out the superior and inferior borders of the fluid collection and determine the best place to perform the thoracentesis, taking into account anatomic variations during the respiratory cycle.
>>Once all of the thoracic structures have been localized, the thoracentesis can be attempted in a static or dynamic fashion.
>>If the procedure is performed in a dynamic manner, remember to use sterile ultrasound gel and prep the ultrasound probe in a sterile fashion.
>>When the thoracentesis is being performed under dynamic (real-time) ultrasound guidance, remember that direct visualization of the needle will only be noted when the ultrasound beam is angled directly at the needle.
>>Remember that “Practice Makes Permanent” so take advantage of the benefits of bedside ultrasound to help you maximize success and minimize complications.
*Special thank you to Dr. Marcy Rosenberg for her help with the ultrasound images included in this article